Over the summer I did a serious purge in my craft room. The result of the big clean out was creating these advent boxes. I found these little jewelry boxes at a thrift store about three or four years ago with intentions of creating this project. This is one of those "when I have kids" ideas. But I finally bit the bullet and decided that I should just make them now even if they do not get used right away. Plus it was one less thing taking up space unfinished. Now it just takes up space finished! I suppose I could store it in my Christmas storage bins but I like the idea of using them to countdown a birthday or special event enough to leave them easily available all year long. We will see. Until then...here is what I did:
 You will need:
-Small earring jewelry boxes (can be found online or at the craft store if you don't luck out like I did)
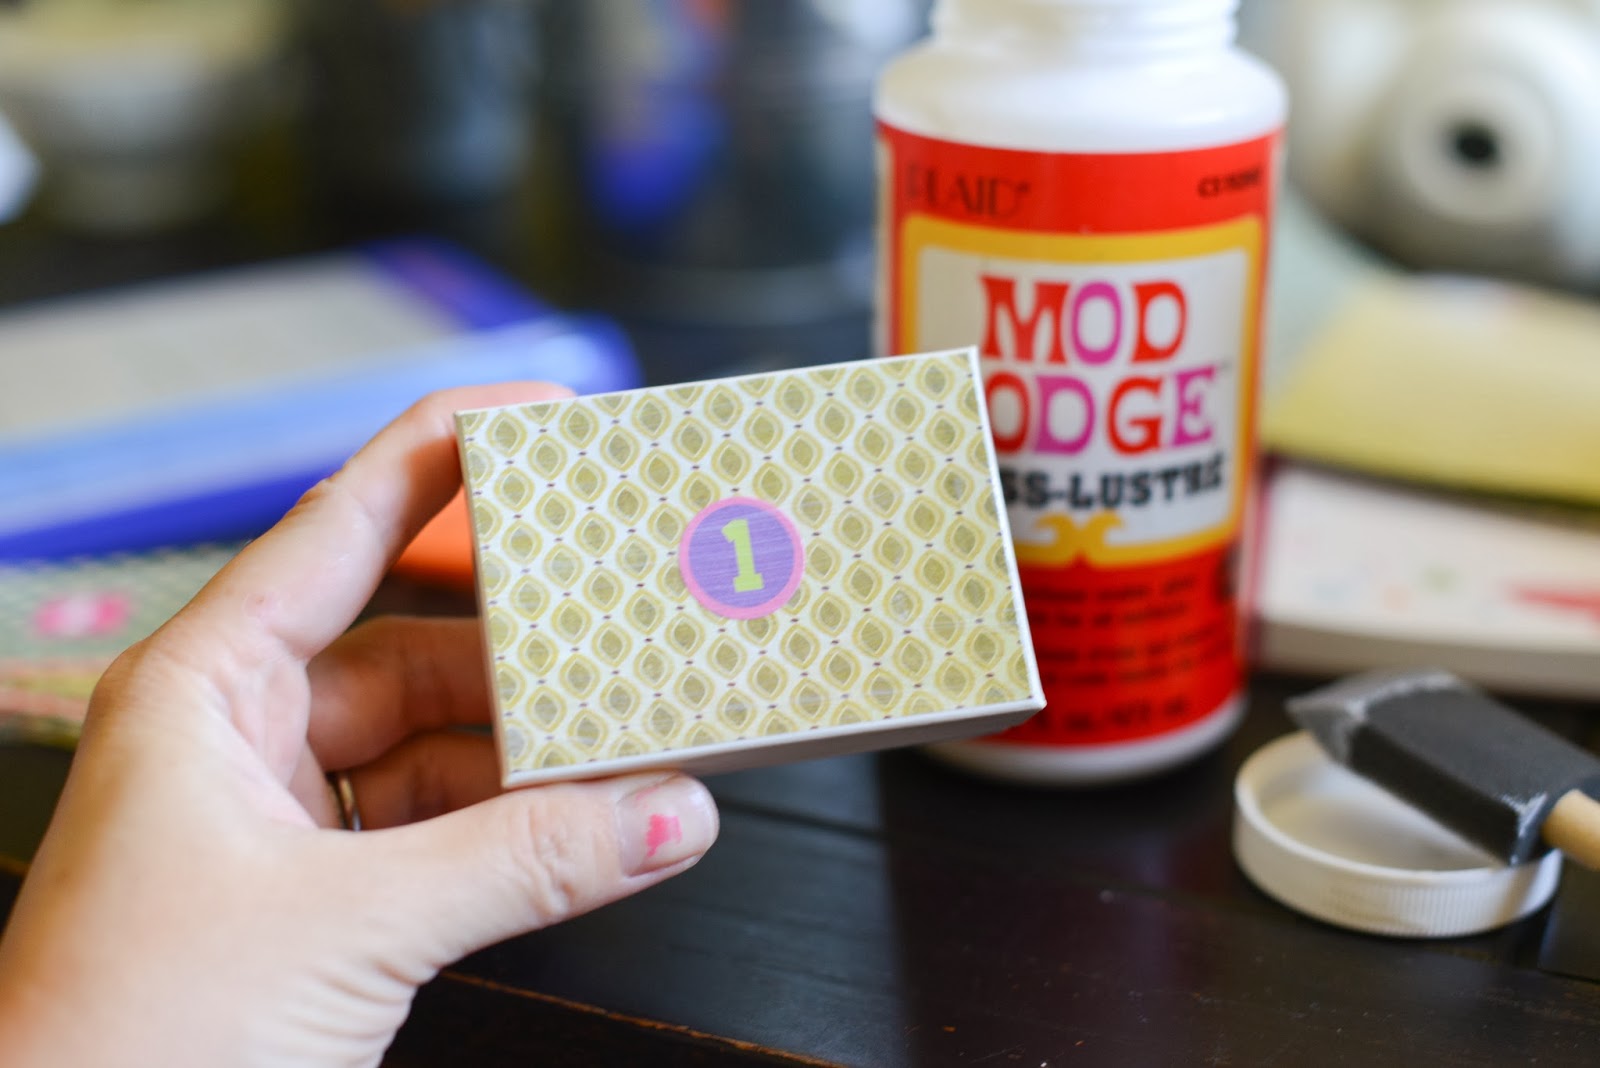
-Mod Podge and foam brush
-Scrapbook paper
-Number stickers
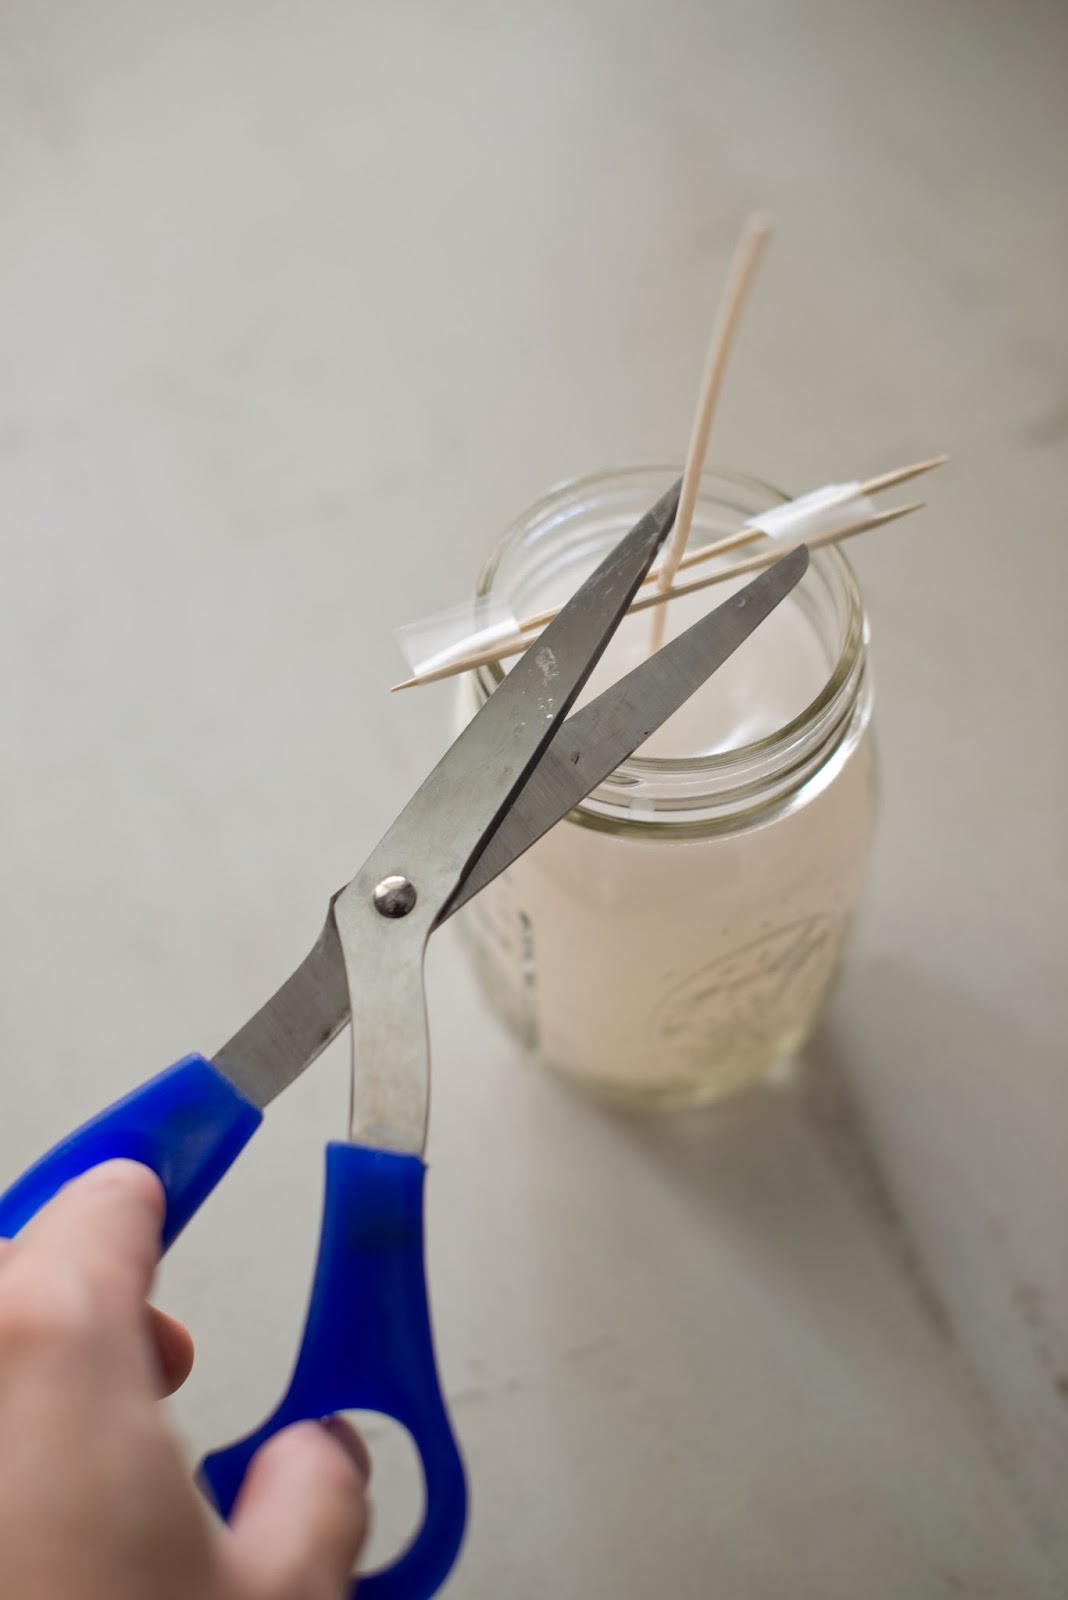
-Scissors

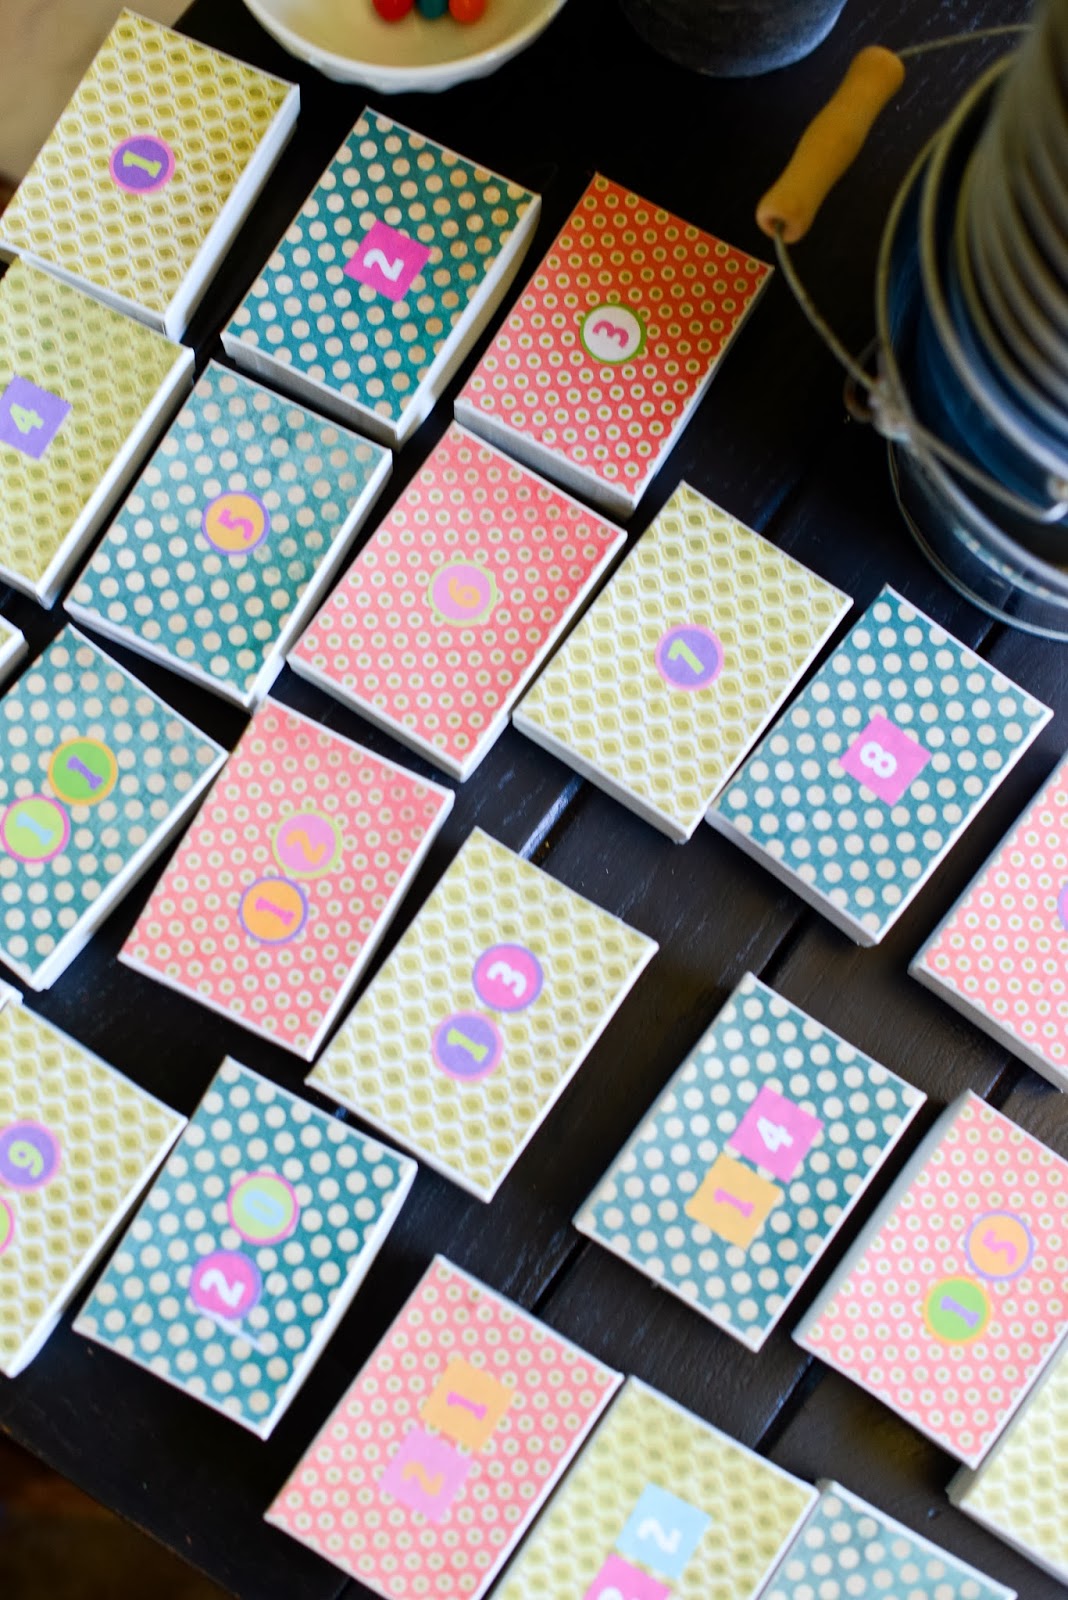
I traced the top side of the jewelry box lid as a template and then mass cut my scrapbook paper. I then added the number stickers. Though advent is 25 days, I made 31 boxes to be able to countdown a whole month.

Look how messy my desk was. Wow. I have quite improved since then. And I have stopped eating candy at my desk as well!

Using Mod Podge, glue down the scrapbook paper to the box and then paint a coat on top of the paper to finish it off.


If you are looking for ideas of what to fill your advent boxes with, here are a few suggestions:
Daily activity and scripture reading -- The Mom Digity
Lots of family activity ideas -- The Mad House
Printable activities that focus on doing something nice for others -- One Little Minute
Free Bible verse printables (this one is really cute and simple) -- Happy Home Fairy